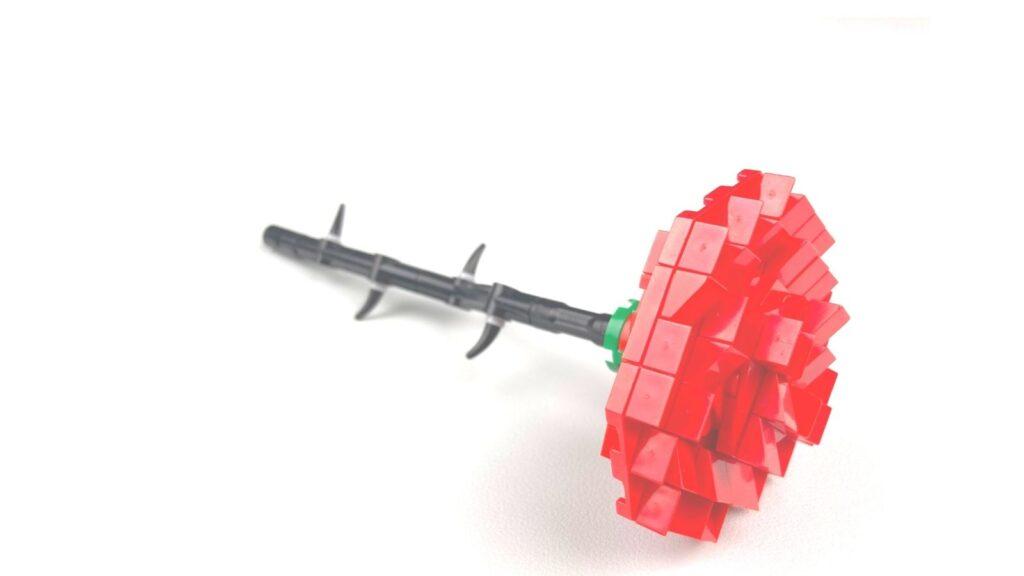
A building brick rose may not be a real rose, but this decoration can stand for long-lasting love in a relationship, as it represents the idea that love can boom eternally. In this article, we will explain how to make a rose set step-by-step so that you can create one of your own with the instruction.
The rose set we are going to create consists of two main components: the stem and the petals. The stem will give the rose its height and elegance, while the petals will give it its distinctive shape. Take a look at this video and watch an exquisite brick rose come to life, piece by piece!

Petals
1. The Base Layer
You start with two square plates composed of smaller plates, then add two more in an octagon shape. They are stacked together to create an inverted pyramid shape, with each layer increasing in size as you move up the stack. By building up the base layer in this way, you create a stable foundation for the rest of the petals to be built upon.
2. The Inner Layer
Begin forming the inner layer by positioning a few plates in a square shape at the center of the base layer. This creates a raised area for the inner petals to sit on, giving the rose a more dynamic look. Next, place the small angled bricks in a crisscross pattern, with the points of angles facing inward.
3. The Outer Layer
After completing the inner layer, continue by adding more small angled bricks to create the outer layer. These bricks should be placed at different angles, with each one slightly offset from the others to create an organic look.

Stem
1. Create the core
To create the stem core, connect stem bricks together by using axles. Place a stem brick vertically and insert an axle into the ends of the brick. Connect another stem brick to the axle, and repeat this process to create a straight, tall core for the rose. The stem core is made entirely of stem bricks and axles.
2. Add spikes:
Now, if you want to give your rose a realistic appearance, spikes can be added to the stem by attaching them using technic pins. These spikes are added in a spiral pattern around the stem, starting from the bottom and moving up. This gives the stem the appearance of a real rose stem, with thorns protruding from the sides.

To connect the petals and the stem, the connectors should be inserted into the bottom of the base layer and then attached to the stem. Make sure the connectors are firmly in place, so the petals do not fall off.

Finishing Touch
One way to add a finishing touch to the rose set is by tying a ribbon around the stem. This can add a pop of color and a touch of elegance to the rose. Choose a ribbon that complements the color of the rose or the occasion it is meant for.
Before making this creation by yourself, you will need a total of 90-100 common parts, which can be found by element code at the online brick store. You can also purchase the bricks from any local building supply store.

And now start making your very own building brick rose! It may not be as delicate as a real rose, but it’s a unique gift or decoration that will last a lifetime. Don’t forget to check out our contest “Show Your Love” and Story Writing, where you can share your creative ideas to win bundle gifts and cash prizes for the top-voted entries. So start building and let your love bloom!


