For devoted Lego builders, half the fun lies in meticulously piecing together models and displays, brick-by-brick, to construct one-of-a-kind creations. But dust can gradually accumulate over time in even the tiniest crevices of these artistic builds and handcrafted masterpieces, clouding once vibrant colors.
This comprehensive guide provides tips and tricks for dusting assembled Lego sets, instead of loose Lego bricks. The only tools you will use are simply soft paint brushes for gentle dusting, cotton swabs to reach tight spaces, powerful air dusters for contactless dusting, and so on. These are basic, budget-friendly household supplies that you can quickly grab at any store.
Understand Why Lego Dust Can Be Harmful
The build-up of dust on your Lego sets is more than merely an aesthetic problem; it can damage your cherished constructions. Over time, dust particles can begin to scratch the surface of the bricks, causing noticeable wear and tear. Moreover, in humid environments, dust can merge with moisture in the air, forming a grimy layer that’s hard to remove and can lead to discoloration.
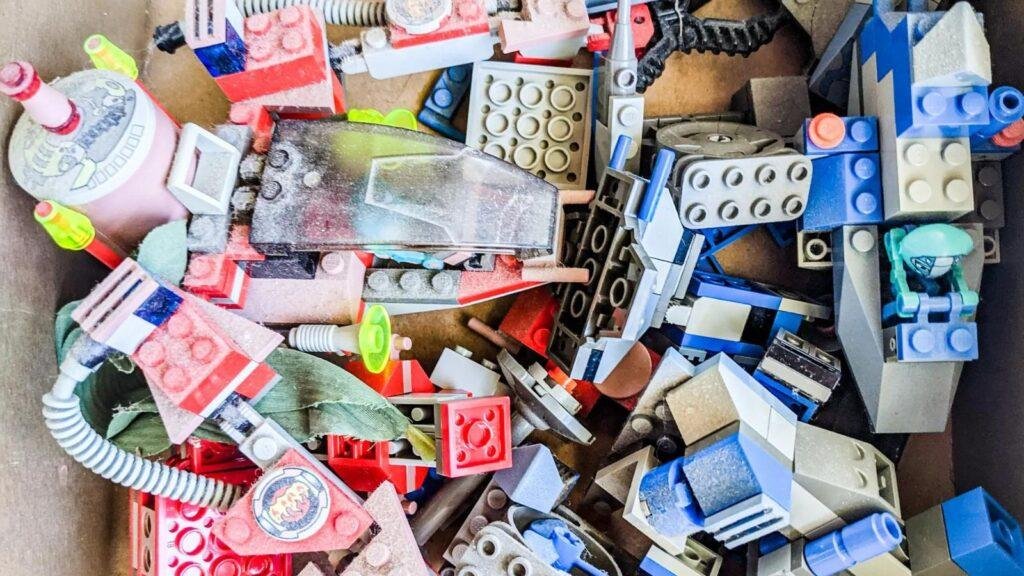
For dedicated collectors who care about the state of their Lego sets, dust accumulation can depreciate the value of these collections. It can also create difficulties when disassembling and reassembling sets, as dust can block connectors and make it tough to fit pieces together.
Why Dusting Lego Sets and Displays Can Be Tricky
Dusting Lego sets is more complex than dusting a flat surface due to the intricate designs, trim pieces, and tight corners, making reaching every nook and cranny challenging. Traditional cleaning methods, such as wiping with a cloth or using a feather duster, often need more. They might even displace pieces or fail to remove dust from hard-to-reach areas.

Furthermore, different Lego sets necessitate other cleaning techniques. A method that works for a large, robust structure may not work for a delicate, detailed model. Therefore, finding the right approach for each set can be a puzzle.
6 Best Ways to Dust Off Lego Sets
Maintaining your Lego sets’ cleanliness and vibrancy requires a thoughtful approach. With that in mind, let’s explore some practical methods for dusting off your Lego sets:
1. Use a Soft Paintbrush for Gentle Dusting
A soft-bristled paintbrush allows gentle yet thorough dusting off Lego sets. Its bristles glide smoothly across surfaces, dislodging debris from crevices. In the absence of a paintbrush, makeup brushes or camera brushes can serve as alternatives.

When using a paintbrush:
- Select a brush with soft, flexible bristles that will not scratch plastic. Artist paintbrushes often work well.
- Lightly sweep across bricks, tiles, and plates to whisk away dust and dirt. Avoid excessive scrubbing.
- Twist the brush to reach between studs and into recessed areas around protruding elements.
- Use the tip to dislodge particles from corners and angles. Reach into narrow gaps.
- For larger sets, work systematically section by section to ensure full coverage.
With a delicate touch, a paintbrush lifts away dust while protecting your Lego collection. Its versatility makes it an essential dusting tool.
2. Use Short Bursts of Compressed Air for Contactless Cleaning
Compressed air allows contactless dusting for even intricate Lego builds. Controlled blasts remove debris without physical force.

When using compressed air:
- Hold the can upright about 6 inches away from surfaces to avoid excessive force.
- Apply quick, gentle bursts of air to dislodge dust. Avoid sustained blasts.
- Slowly circle around models, aiming into crevices and gaps between sections.
- For stability, blast sections farthest from supports first. Work systematically.
- Periodically dust the set overall to remove particles stirred up by air blasts.
With careful aim, compressed air can safely clean hard-to-reach spots. Its contactless cleaning protects delicate builds while banishing dust.
3. Use Q-tips to Reach Tight Spaces
Q-tips, especially the ones pointed at one end, can effectively target problematic corners and crevices that brushes or cloths can’t access. Their cotton tips and thin wooden sticks allow you to precisely clean even the tiniest gaps.

When using Q-tips:
- Lightly brush the tip back and forth to dislodge dust. Avoid excessive pressure.
- Twist the tip as you clean to expose fresh cotton edges.
- Use the wooden stick end for angled slots. Take care not to leave cotton strands behind.
- Start with a dry tip for dusting. If needed, you can lightly moisten with a small amount of water.
- Work patiently around protruding bricks and accessories.
With meticulous dusting, Q-tips enable detailed cleaning of every inch, ensuring no area is missed. Their versatility makes them a useful addition to any Lego dusting toolkit.
4. Use a Hand-held Vacuum for Hard-to-Reach Spots
A small, portable hand-held vacuum that you can easily purchase at less than $30 can suck up dust from the trickiest Lego crevices. Look for one with a brush attachment and adjustable suction levels. Gently glide the soft brush nozzle over your Lego creation, concentrating on tight spaces and corners, to lift away stubborn dust. The vacuum’s suction grabs hold of tiny particles that brushes leave behind.
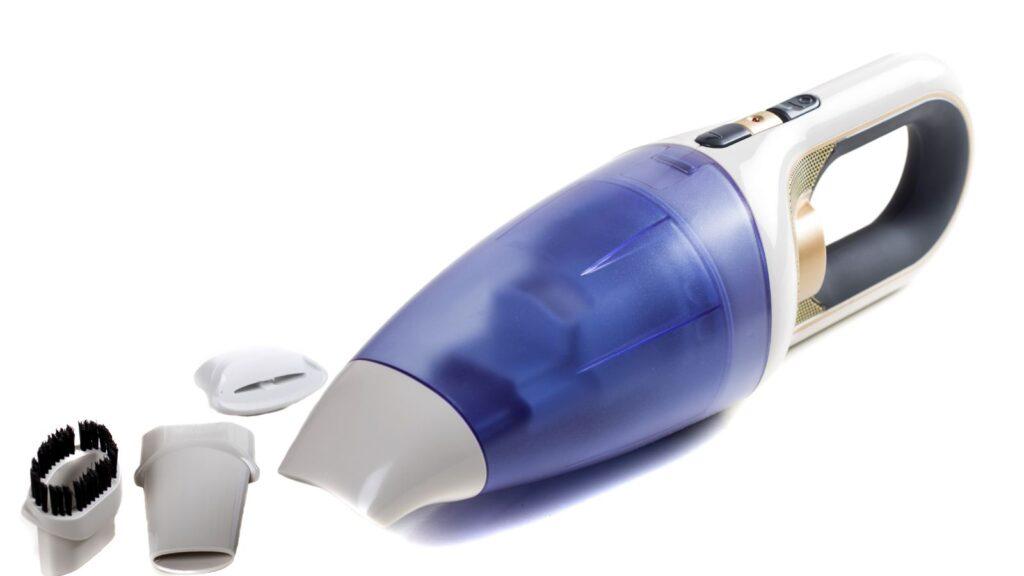
When shopping for a hand vac, look for the following features:
- Brush attachment – The brush agitates and loosens debris. Bristles should be soft enough not to scratch plastic.
- Adjustable suction – Allows you to reduce power for delicate areas. Look for low and high settings.
- Cordless – Makes maneuvering around a Lego model much easier. Look for at least 10 volts of power.
- Transparent dirt compartment – Let you see when it’s time to empty out the accumulated dust.
- Mini size – Compact hand vacs can reach tight spots. Look for one less than 4 inches wide.
When using the hand vac:
- Start on low suction and increase as needed for stubborn spots. Too much force can loosen Lego bricks.
- Concentrate on cracks, crevices, corners and bases where dusts are collected.
- Use the brush nozzle attachment versus the bare suction opening. Bristles help dislodge debris.
- Work in sections for best results. Do one surface at a time.
- Empty the dust bin frequently to maintain strong suction power.
A portable hand vac provides powerful suction for removing dust from even the hardest-to-access nooks and crannies. Used gently, it can remove clingy dust particles that brushes leave behind.
5. Clean with Reusable Play Slime
These fun playroom staples also work great for cleaning Legos without liquids. Simply press the sticky slime against your Lego model to grab onto and pull away dust and debris. The slime can access tiny gaps and spots brushes can’t reach.
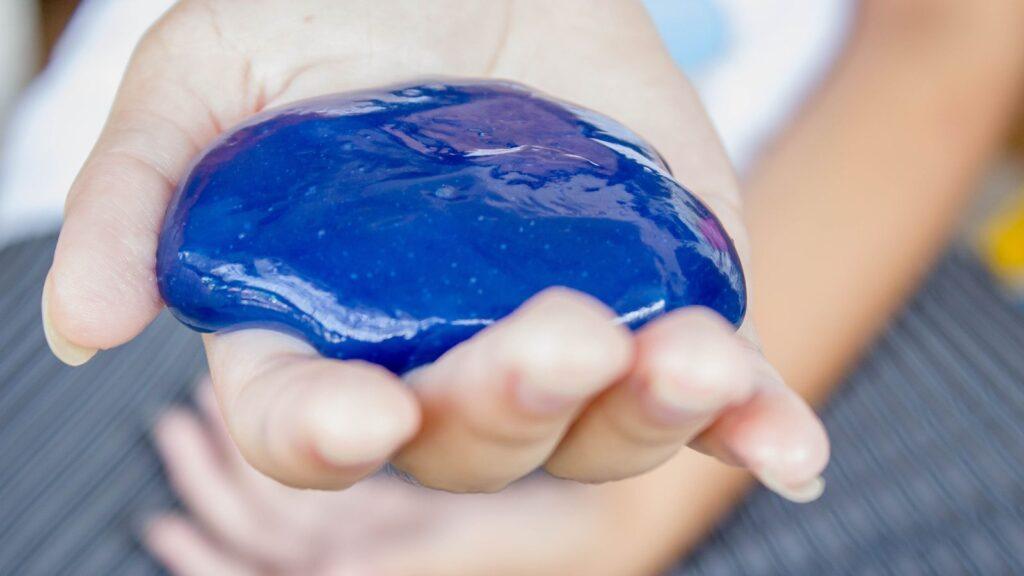
When selecting slime, look for the following features:
- Reusable – The slime should be able to be kneaded and reused many times.
- Rinses clean – Look for slime that rinses away easily with just water for reuse. Avoid borax-based recipes.
- Thick and sticky – A thicker, stickier slime will grab dust better than a thin one. But not so sticky it pulls bricks apart.
- Fun colors – Pick a bright color to easily see the slime against your Lego backdrop as you work.
To use the slime:
- Before use, ensure that it’s sticky enough and won’t easily come off.
- Press gently and rub across Lego surfaces. Avoid tugging on bricks.
- Target crevices and gaps. The slime can reach where brushes can’t.
- Rinse dust off the slime as needed underwater to keep its tackiness.
- Let air dry completely before storing in an airtight container.
Note:
If slime breaks apart, just try to make it stretchy again. Soak the slime in warm water and let it sit. After the water cools down, knead and stretch the slime in the water. Repeating this process multiple times might restore the slime’s stretchiness.
6. Wipe Down with a Microfiber Cloth
For a chemical-free dusting option, a simple microfiber cloth can effectively trap dust particles. The lint-free, woven fabric grabs onto fine debris that brushes leave behind.
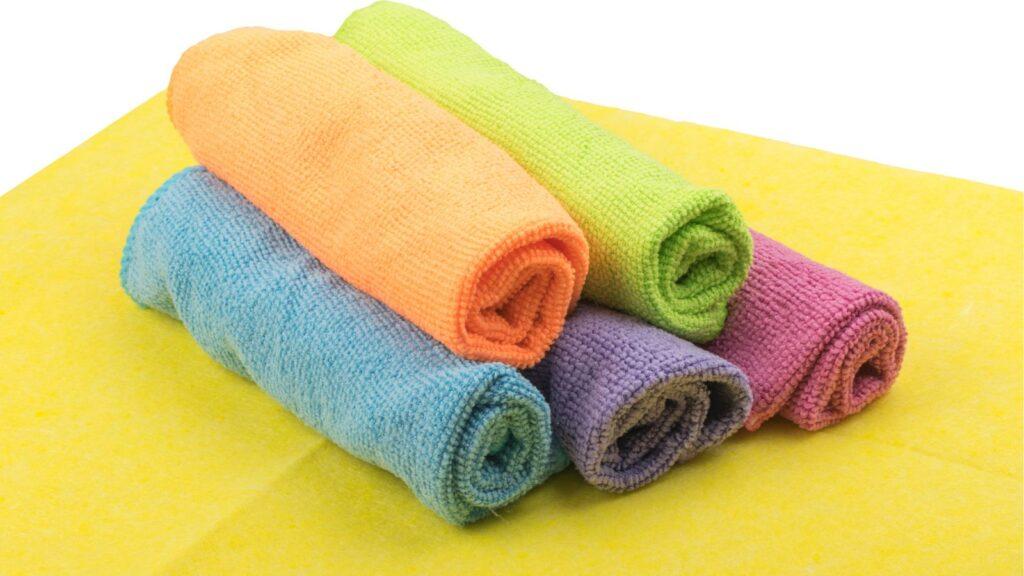
When selecting a microfiber cloth, look for:
- A tightly woven texture – This creates more dust-trapping friction.
- 80% polyester / 20% polyamide blend – Provides the right level of electrostatic charge to attract dust.
- Bright color – Easier to see dirt against vibrant colors like yellow or blue.
- 12″ x 12″ size – Large enough to cover Lego sections efficiently.
To use the cloth:
- For cleaning tight spots, you can tear the cloth into smaller pieces.
- Wipe Lego surfaces using light, overlapping strokes. Let the fabric grab the dust.
- Fold to reveal clean sides frequently. Refold rather than rubbing dirt back on.
- Rinse if needed and allow to fully air dry before reusing. Heat drying diminishes effectiveness.
- Wash occasionally with warm water and mild detergent. Avoid fabric softeners.
The microfiber material traps and locks in dust through static charge and fine weave. With a gentle touch, microfiber cloths lift away stubborn dust without chemicals or liquids.
7. Sticky Tape or Adhesive Putty
It is a cost-effective and easily accessible solution for effectively removing dust from Lego sets, especially in those hard-to-reach areas. These options excel at capturing dust particles from Lego surfaces, making them ideal for intricate cleaning tasks. You can easily find them at most office or stationery supply stores that sell them at a budget-friendly price.
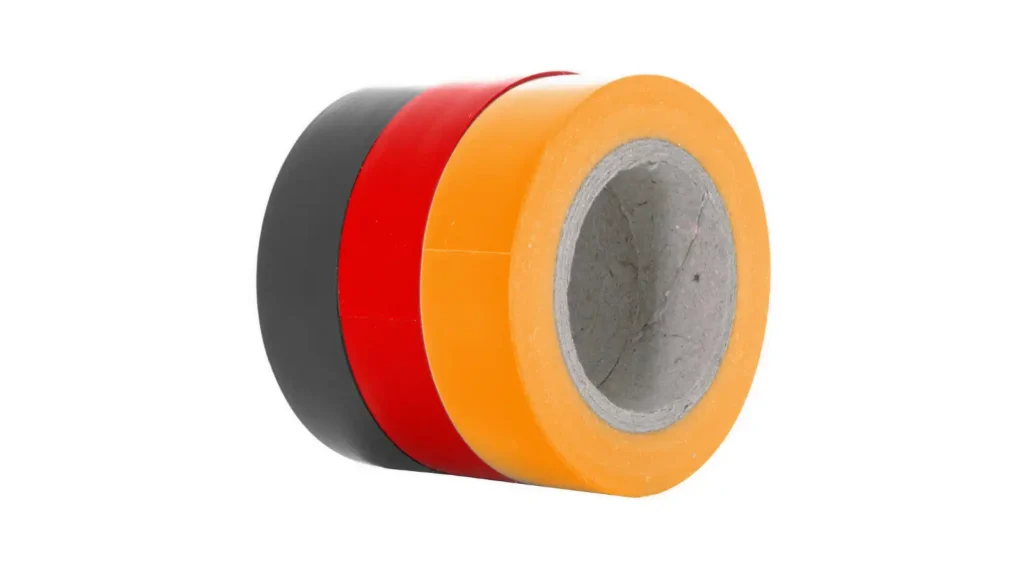
How to use:
- Tear off a small piece of Sticky Tape or Adhesive Putty.
- Gently press it onto the dusty areas of your Lego set.
- Lift the tape or putty to remove dust particles.
- Use fresh pieces as needed.
- Pay attention to corners, studs, and other challenging spots.
- Dispose of used tape or putty properly.
8. Microfiber Dusting Gloves
The Microfiber Dusting Glove is an efficient tool designed for easy dust removal, offering cost-effective and accessible solutions. This glove excels in dust removal due to its microfiber material, effectively attracting and trapping dust particles on Lego surfaces. You can easily obtain a Microfiber Dusting Glove from most retailers specializing in cleaning supplies, typically priced between $5 to $15.
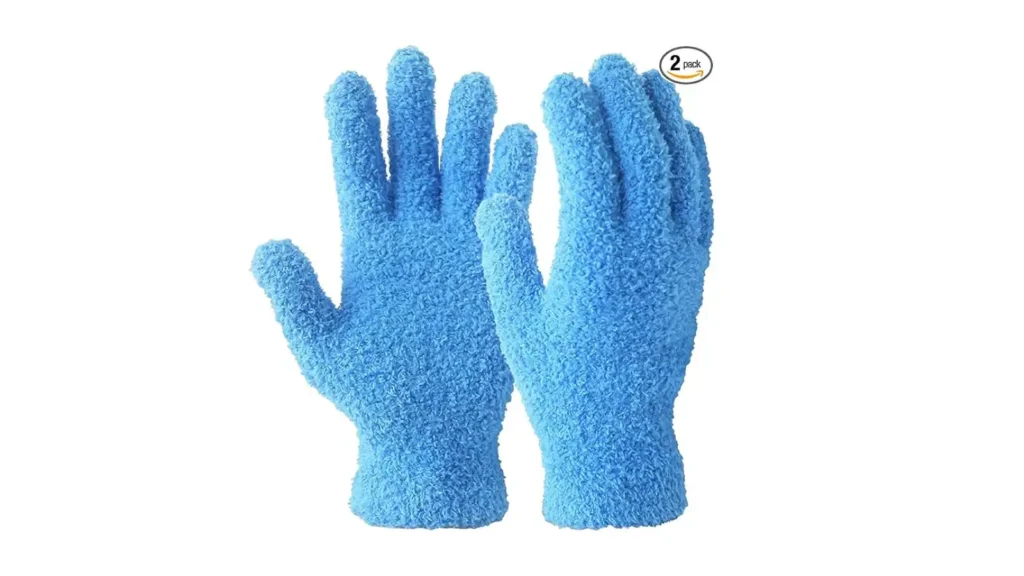
How to use:
- Put on the Microfiber Dusting Glove.
- Gently run your gloved hand over the Lego surfaces to capture dust.
- Rotate the glove to use a clean area for continuous dusting.
- Target corners, studs, and hard-to-reach areas.
- Shake or tap the glove to remove trapped dust.
- Dispose of used glove properly.
Prevent Dust from Accumulating on Your Lego Collections
When it comes to keeping Lego sets looking their best, prevention is key. Consider these pro tips to stop dust in its tracks:
Display in enclosed cases: Showcasing Lego sets in enclosed display cabinets or cases helps shield them from dust. For less than $20, you can get an acrylic case for your small-scale set. Look for cases with the following features:
- Tightly sealing doors – Prevents dust entry when closed.
- UV resistant – Guards colors against sun damage. Look for acrylic or polycarbonate.
- Adjustable shelves – Allows you to customize fit.
- Ventilation holes – Lets some airflow circulate to avoid condensation buildup.
Considering effective Lego display ideas can also help in minimizing the impact of dust on your prized Lego creations.
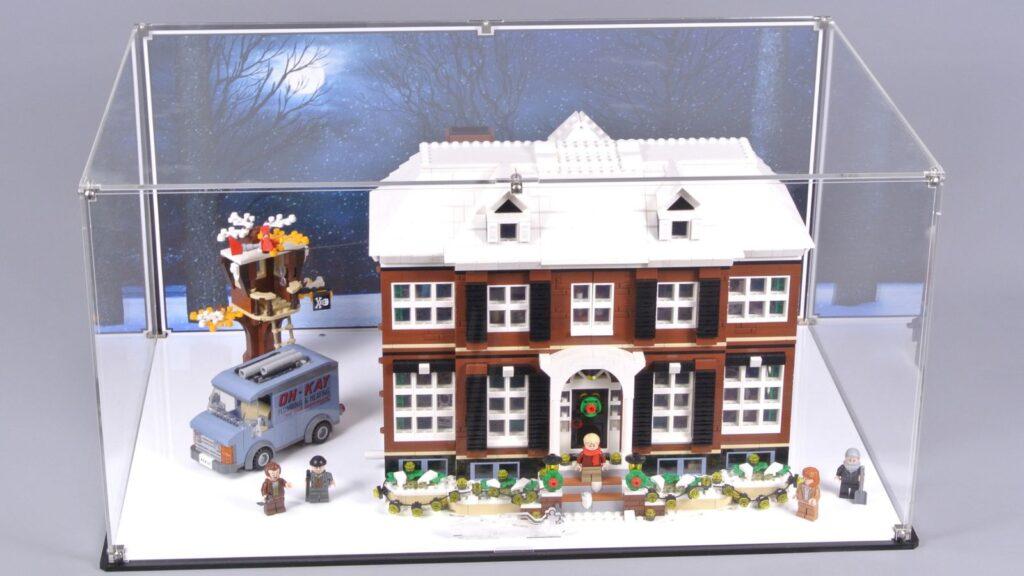
Dust regularly: Make dusting part of your regular Lego maintenance routine. Target every 1-2 weeks for best results. Frequent light dusting prevents heavy buildup.
Window handling: Avoid leaving the windows open for too long in your LEGO collection room.
Use air filtering: Place an air purifier with a HEPA filter nearby your display case to filter ambient dust. This further minimizes airborne particles that can enter.
Apply anti-static spray: Spraying your Lego creations with an anti-static polish creates a protective barrier against dust. These products prevent static charge that can attract particles. Reapply every 1-2 months.
Handle with care: Be cautious when handling Lego sets to avoid scuffing or dislodging pieces. Wear lint-free gloves when cleaning. Wash hands first to avoid oil transfer.
With vigilant dust prevention habits, your Lego masterpieces will maintain their vibrant, spotless look for many years to come. Consistent, gentle care is the key to pristine, dust-free Lego builds.
Conclusion
Keeping your treasured Lego creations looking as pristine as day one is essential for any builder. With just a few handy household tools already at your fingertips, you can easily banish dust buildup. Using simple, no-water methods like microfiber cloths, small hand vacs, reusable slime and Q-tips, you can revive faded Lego colors and restore models to their vibrant glory. Along with diligent dust prevention habits, take a moment to regularly refresh your builds. Your painstakingly crafted Lego masterpieces deserve gentle care and cleaning to spark imagination for years to come.
Big Announcement! November 2024 is JMBricklayer’s 2nd anniversary! Enjoy sitewide discounts ranging from 25% to 50% off, plus tons of giveaways and prizes! New customers also get an extra $10 in points to spend. Don’t miss out!
PS: The brick toys sold by JMBricklayer are suitable for ages 14 and adults, and all the blocks are compatible with LEGO.





63 Responses
Some interesting ways , i wouldnt have thought of
We’re glad you found the article interesting!
Ive obly used air in a can for mine.
Using air in a can is a popular choice and a convenient way
Nice information
Thanks a lot!
OK. Let’s try it!
Absolutely, go ahead
Anyone have a good slime recipe?
Hope this is helpful https://www.tasteofhome.com/article/cleaning-slime/
Great tips to cleaning sets! It helps to dust weekly/daily if you can, and if you can place sets into enclosed display cases!
You’re absolutely right – regular dusting is key to maintaining the beauty of your LEGO sets.
I’ve always cleaned my Lego build by carefully moving it on the balcony, and then brushing it with a small painting brush of my father’s. Only once dropped on the way to the balcony…
Cleaning your LEGO builds on the balcony is a creative solution. Thanks for sharing this.
We recently recieved a large quantity of very loved played with Lego that were my brother in laws. Once we got near the bottom of the container we got to some very crusted lego. We soaked them in some dawn powerwash water and then scrubbed them. After words we use some clorox wipes. They all came out looking like new….
What a remarkable transformation! It’s heartwarming to see these pieces being brought back to life. Thanks for sharing your success story
Whenever I purchase a bulk lot of used bricks, it goes into a bath of warm water with mild dish soap. Agitate it lightly every so often and then give it a good rinse with cold tap water, being sure to rinse any remaining soap off. Then I allow them to air dry spread out on a towel. A little time consuming but has proven to work well for me.
Your cleaning method is thorough and effective! While it may take some time, the end outcome – clean, refreshed LEGO bricks – makes it all worthwhile.
Cleaning pieces never seemed like an easy task for larger hands, but when I do it with slime or putty it’s easier. I usually only really need to do this when I drop them under my couch.
Slime or putty is surely a smart tool
I can tell that this is made out of years of experience. This is cool!
We’re happy that you find the article cool and useful.
Before assembly I washed the dirty ones with soap, hot water with a bit of winegar and brush and worked always well.
Using a brush for a thorough clean must give your LEGO sets a fresh start every time.
That’s years of experience right there. Thank you for sharing
You’re very welcome
Big fan of compressed air, it’s the easiest thing for me to use at work. Just have to be careful you don’t blow any parts off ????
It’s so convenient, especially when you’re wanting a quick clean.
When it comes to cleaning my own LEGO sets, I’ve found that a soft-bristle brush and compressed air are my go-to tools. The brush is perfect for gently sweeping away surface dust, while compressed air helps reach those tricky nooks and crannies that are hard to access.
Certainly! A soft-bristle brush and compressed air are indeed a dynamic duo for keeping LEGO sets in pristine condition.
I will also try the q-tips. They’re available to grab in the nearby shops.
Love this article and the timing is perfect! I just picked up some bulk Lego and they are filthy! So I’ll be using some if not all of these tips!!! Thanks again!!
Cleaning bulk LEGO sets can definitely be a task, but with these tips, you’ll have your Legos looking pristine in no time.
Gotta say the compressed air has been a life saver I notice that in my house within a month or two there is a little dust buildup between compressed air and a paint brush it gets the job done!
Definitely! They are handy tools for tackling those hard-to-reach spots.
Just used a microfiber cloth and compressed air and was quite happy with the outcome!!! But think I might need to start investing in some cases on some of my bigger sets!
Investing in cases is a great idea to ensure your collection stay dust-free.
I have a heap of Lego at work, and I can’t believe how dusty it gets there. This really helps me.
Dust seems to find its way into every nook and cranny, especially with a heap of Lego around.
wash individual Legos with warm water and dish soap. Air dry….now ready for construction,
Air drying them must make a big difference!
Dude this will be helpful
We’re glad to hear that
I love this!!! I live with a cat detailer and he bought me a set of detailer brushes just for my Legos! They work great! I dust them with these everytime I dust my house. I highly recommend using detailer brushes, all sorts of sizes and they are soft bristled and tight. Great for cleaning the bricks!
Thanks for sharing your experience and recommendation – I’m sure others will also find this tip useful!
I think I think I’ve used all these tips this week alone! My bricks are looking brand new 🙂 thanks
sounds like you’ve put these tips to good use.
Have a friend who decided to glue his Lego project. Because he’s a bit clumsy, and in order to clean it without any other complications he glued the pieces together.
Gluing them together does simplify the cleaning process, but it also takes away the flexibility that Lego are known for.
They make REALLY small feather dusters that work great, just have to keep them away from the lovely wife, she tends to confiscate them for her own use. Lol!
Keep those dusters under lock and key! LOL!
I just tried a paintbrush and it works great!
Sometimes the simplest tools can be the most effective.
I have a small airbrush compressor that I use for the larger builds. Just make sure you don’t have a paint well loaded!
Absolutely, keeping the can empty is crucial for safe cleaning.
Was just helping a friend clean up his storage place and scored like 15 brand new compressed air cans! I know what I’ll be using them for!
That’s quite a lucky find!
I’m definitely going to try the can of compressed air!
Absolutely, awesome tools
this is really helpful, thanks for share with us.
Delsbricks is proud to offer Minifigures, Toys, Cosplay Props, Custom Art and collectibles, Lapel Pins, and more. We specialize in Horror movies and creepy cool themes, Science fiction, fantasy, Pop culture, and the Star Wars universe.
We stand by our commitment to offer low prices, fast shipping and quality service.
We are adding New surprises all the time, so please subscribe to our newsletter for discounts and promotional offers. Customers who leave reviews for purchases, will also receive a discount code for future orders.
As Always, Thank you so much for your support
Read More
https://delsbricks.com/
Great article. https://odessaforum.Biz.ua/
Ridicuulous story there. What occurred after? Thanks! https://rollcenter.pl/blog/rolety-do-kuchni-polecane-opcje
Hi Dear, are you eally visiting this website regularly,
if so after that you will absolutely get nice know-how. http://forum.rpgtop.su/6_2268_1.html